
Computer technology is the subject of many crimes or plays the role of their accomplice in them. Phishing, identity theft, financial fraud, extorting attacks, and money laundering are just some of the examples. Digital forensics specialists deal with such crimes, They seek and record traces (evidences) of digital artifacts, which can later be used as evidence in court. And digital forensics tools are a way to achieve these goals.
Despite the fact that there are various scenarios of actions in conducting investigations of various incidents, the main actions are similar for each of them. These include searching, collecting, analyzing, and documenting digital evidence in a report form. In order to ensure the suitability of evidence, digital forensics tools recognized worldwide must be used. FTK imager is one of these forensics tools that is used to collect data and analyze evidence. In this article, we will conduct a detailed review of the FTK imager, demonstrating its installation and the main work processes of this tool. It also forms part of top hacking and cyber security tools.
How to install FTK Imager
FTK imager is a product of ACCESSDATA that can be downloaded from its website.
To download a distribution, ACCESSDATA requires a valid email address to send a download link to the user’s mailbox
After downloading the exe file, start the installer to start the FTK installation process and wait for the process to complete.
Overview of the FTK Imager interface
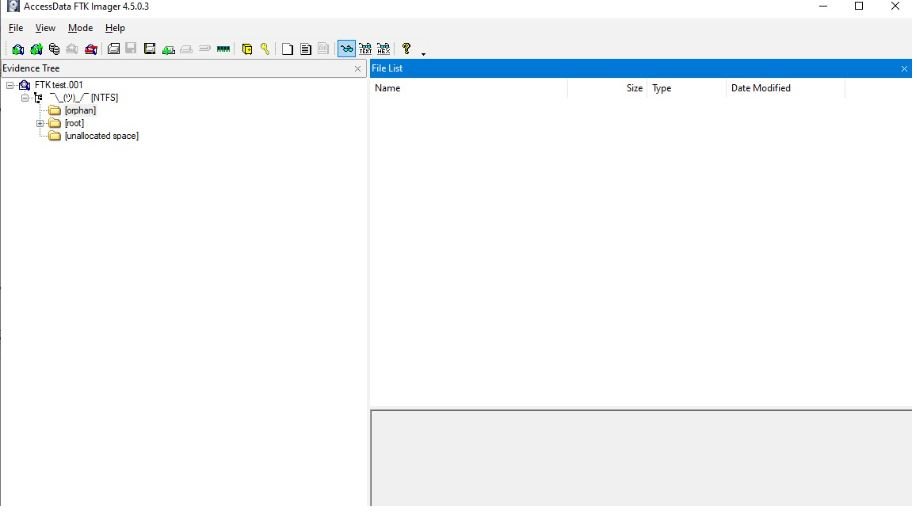
After installing the toolkit FTK Image, open it from the “Start” menu, the list of programs or the shortcut on the desktop created during the installation process. The next screenshot shows the FTK Imager interface.

In the screenshot, as we see, there are two sections. The left section (Evidence Tree)) shows all potential artifact data. The right section (File List) provides more detailed information about each file selected in the Evidence Tree section. The top line of the menu shows all the possible tool options used to extract and analyze data.
How FTK Imager works?
FTK Imager can be used to perform many computer forensic tasks, such as creating a disk image, capturing data in the OS memory, mounting an image, or obtaining system-protected data, such as user account files (SAM). Let’s look at some of these features in more detail.
How to create an FTK disk image?
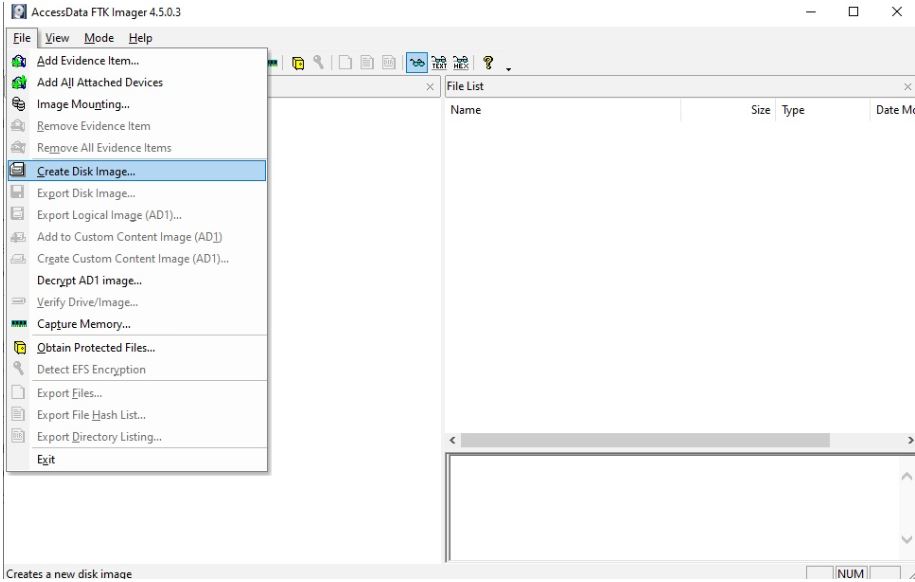
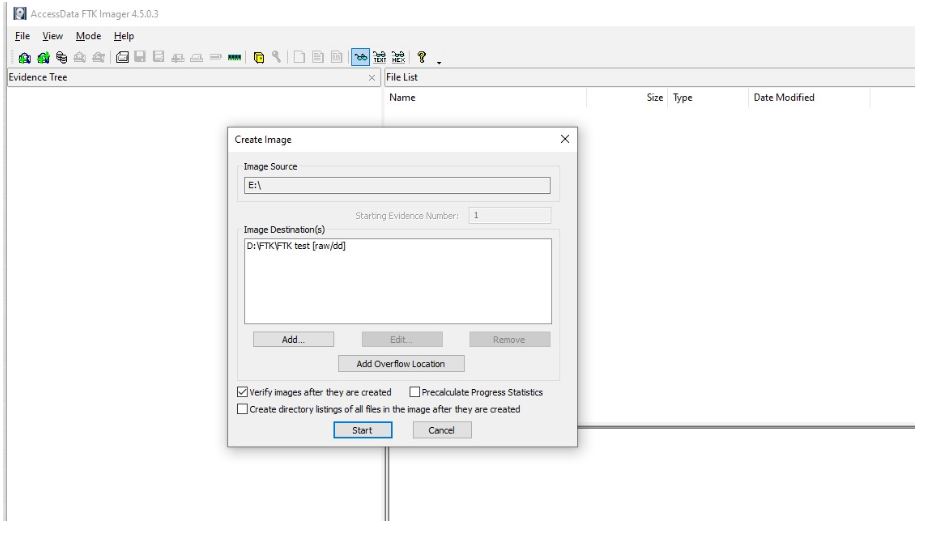
Creating an image of potential evidence is the most important task in digital forensics. The image is created to duplicate the original evidence and preserve the original. It is important to note here that forensic analysis is carried out on duplicates (images) and not on original evidence. This is necessary to ensure the integrity and availability of the original evidence when needed. We can create a live disk image using the File > Create Disk Image option as shown below
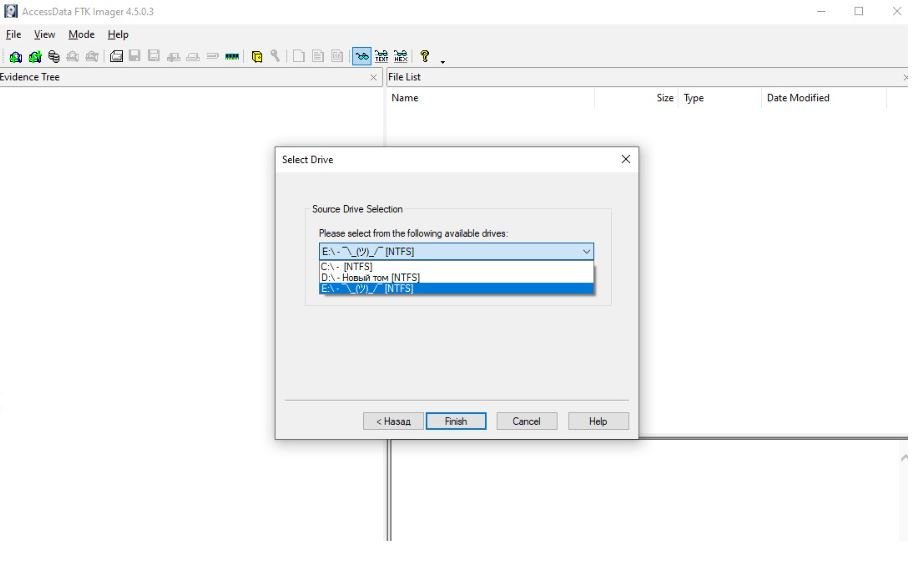
The tool will ask you to select the type of source of evidence to create a disk image. FTK Imager supports the following types of sources of evidence
- Physical disk (all sections)
- Logical disc (specific section)
- Image file
- Folder contents
- CD CD / DVD
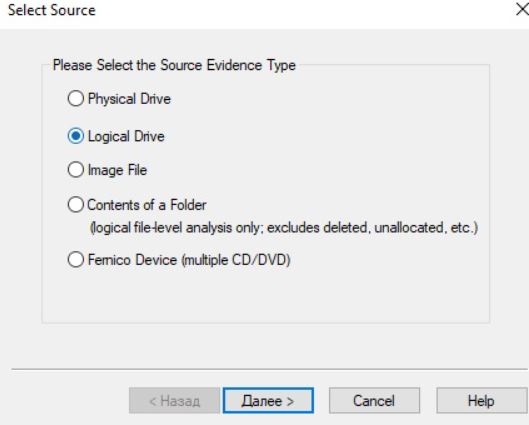
Any physical disk, device or media containing artifacts can be a physical disk. A logical disk is the logical space in an existing system, for example, a C or D disk. An image file can be an existing disk image file. In addition, FTK Imager also supports folder contents as well as CD / DVD media for creating an image. In this guide, we will create an image from a logic disc.
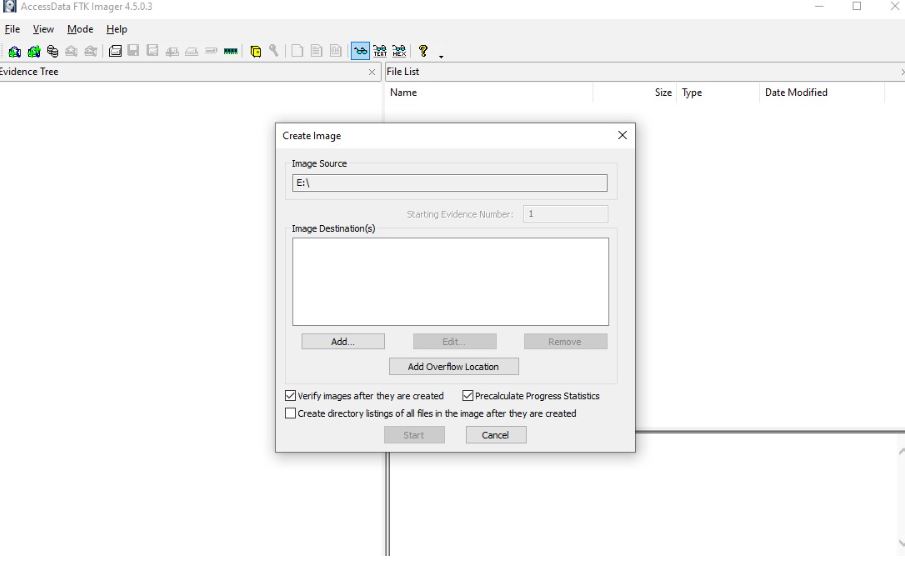
After selecting the source, FTK Imager asks for a destination path to create a disk image. The destination path must not coincide with the source path. You can select the path to save the image by clicking on the Add option in the pop-up window, as shown below.
Before specifying the destination path of the final image, the program will ask you to select one of the following image formats for the target disk image.
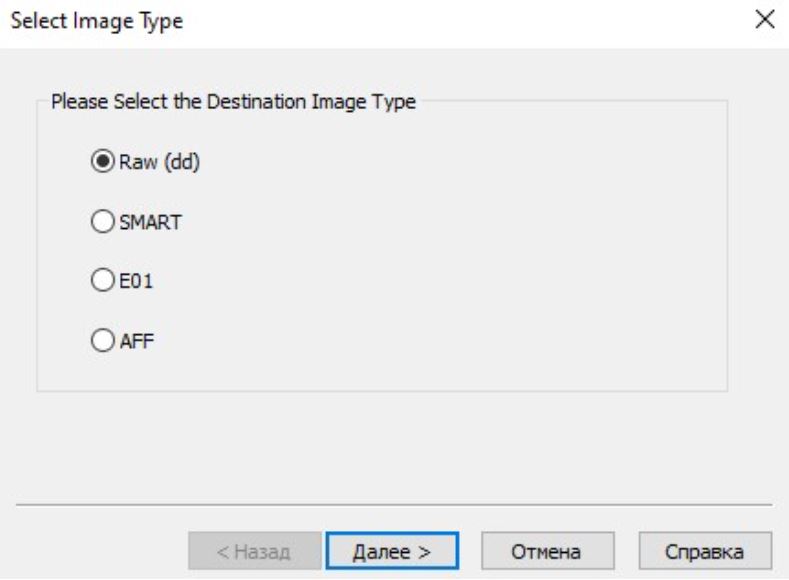
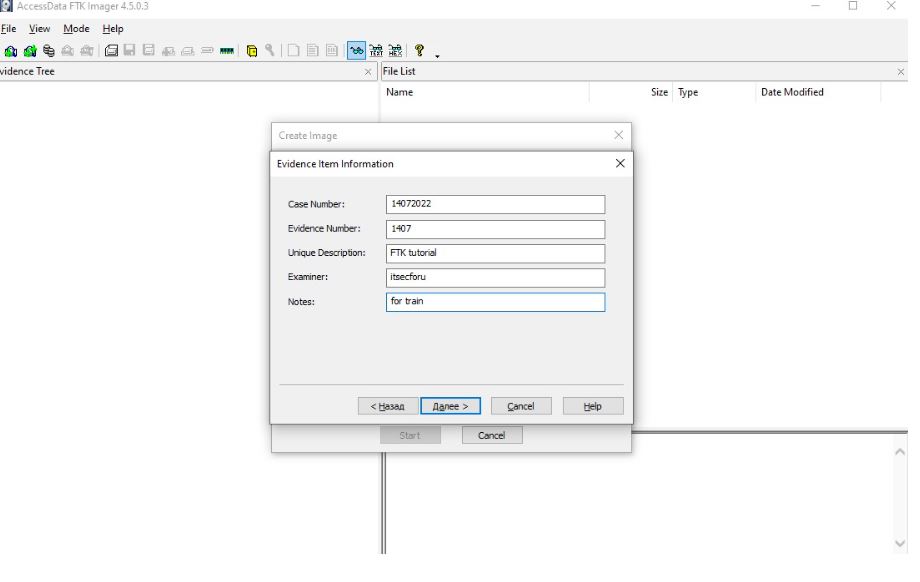
The Raw format is a bit by bit copy of the disk without any changes. Smart format is a format supported by Linux. E01 is the Encase image format. Encase is a well-known tool of digital forensics. AFF is an Advanced Forensic Format format supported by most digital forensics tools. At the next stage, you must provide information about the object of evidence, for example, case number, evidence number, expert name, description of the evidence, as well as additional information.
After filling out the form of information about the object of investigation, the tool will call a pop-up window to indicate the place of conservation and the name of the image. We will not select encryption, and we will also leave all the default values.
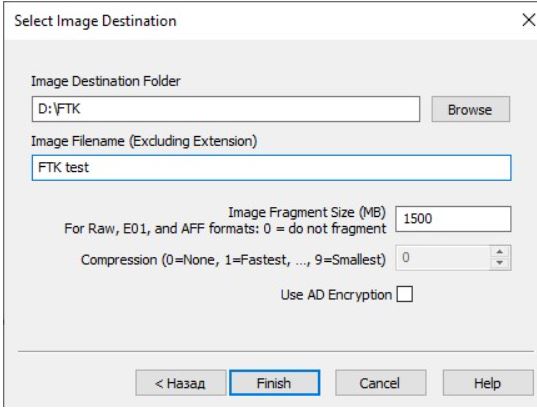
Press Start to start creating an image. Also select the image verification option to check it after creating it.
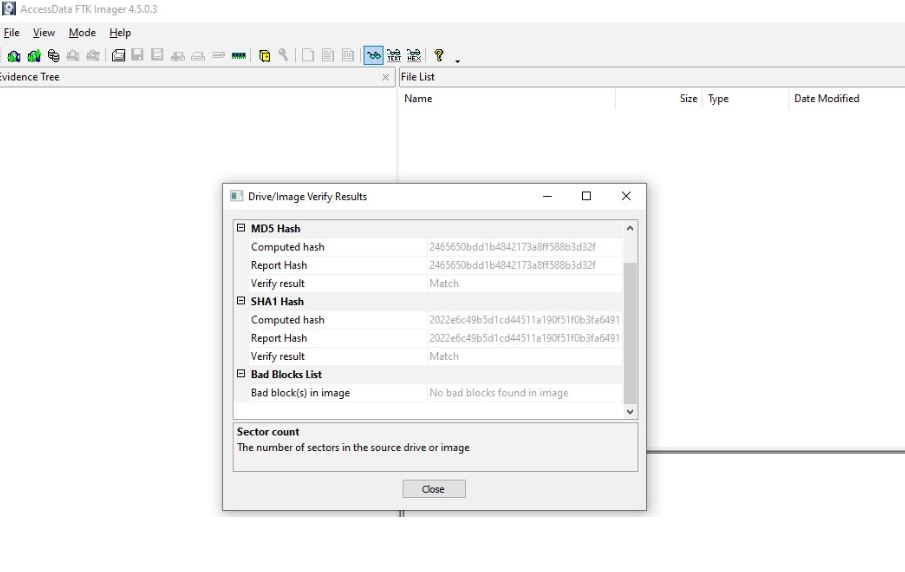
After successfully creating an image, the hash value is automatically generated and compared with the original hash to confirm the authenticity of the image.
How to analyze the image created in FTK Imager?
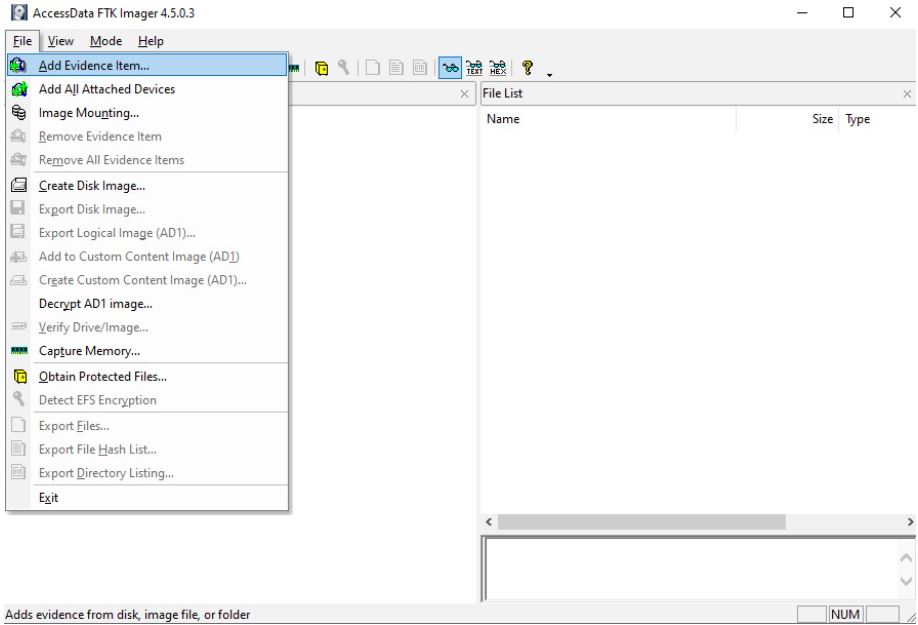
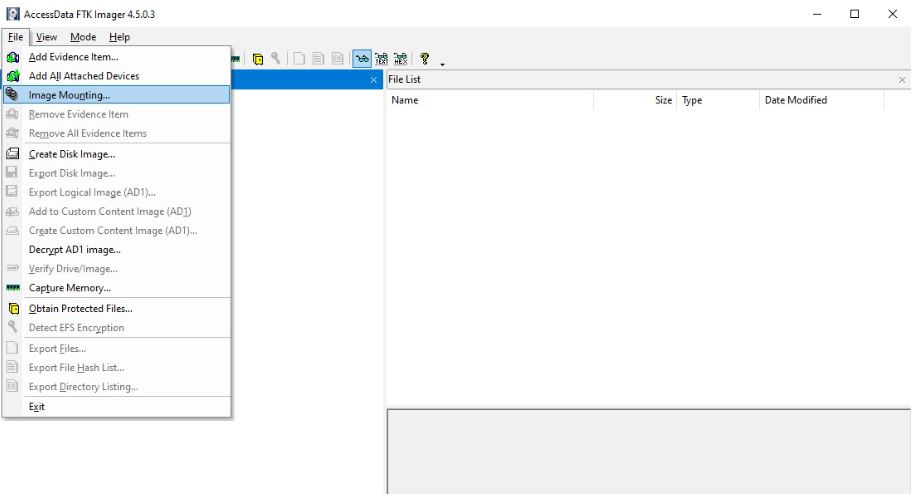
FTK image analysis is a fairly simple process. Select the Add Evidence Item option in the File menu.
We select the type of source, in our case Image File

Next, select the file with the created image and click Finish. The above action opens the image in FTK, as shown in the next screenshot.
We explore the orphan and root directories to view various files and documents of interest to us. As we see in the root directory, we found the deleted picture and also see the files of the closed and public keys user.crt and user.key
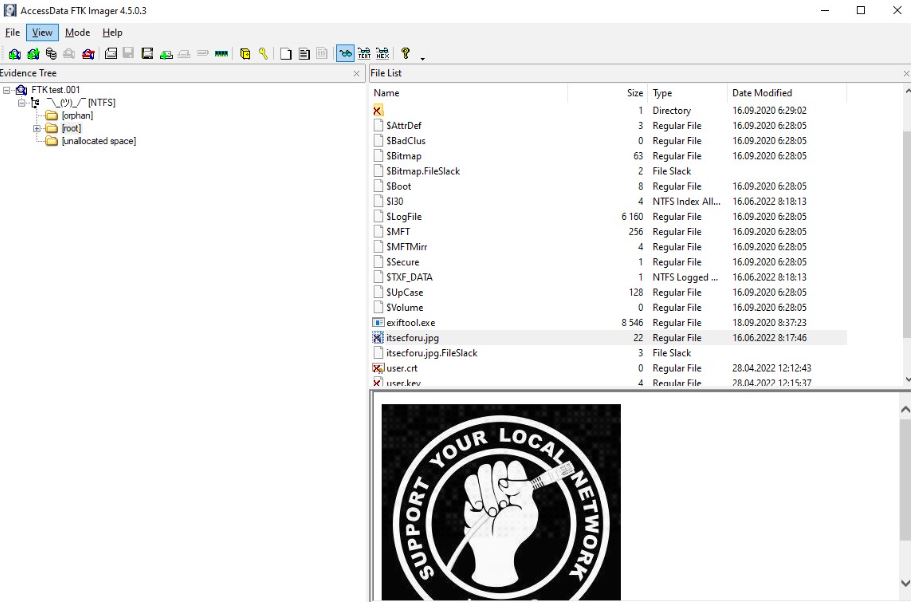
The value of the closed RSA key is hidden in the screenshot

How to mount an image in FTK imager?
To begin with, remove the image
Select the “Image Mounting” option in the “File” menu.
Select the image file from the source location. Also select the type and method of mounting. FTK imager allows you to mount an external image file into a system as a physical and logical disk.
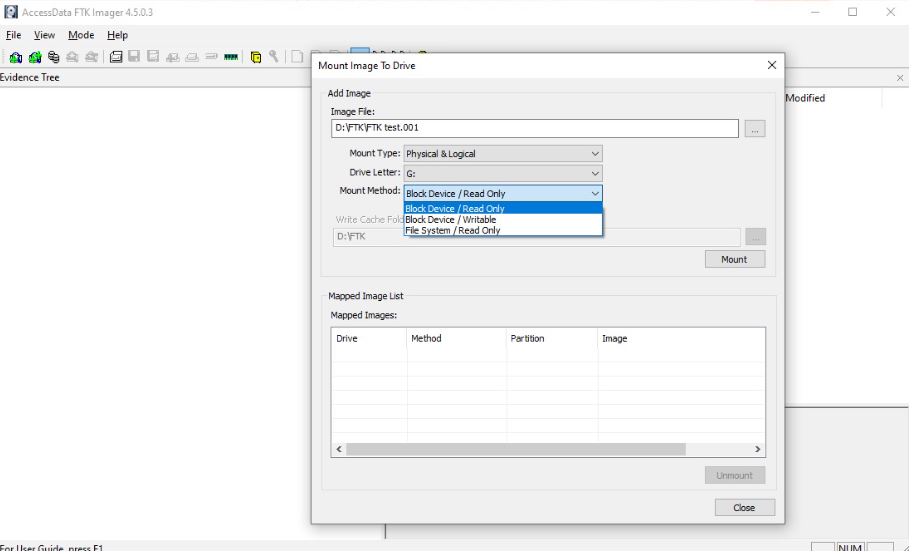
FTK imager also offers the function of locking the record to the image file by selecting the Block Device / Read Only option from the available list of options. This function blocks any changes to the image file mounted as a logic disk in the current operating system.
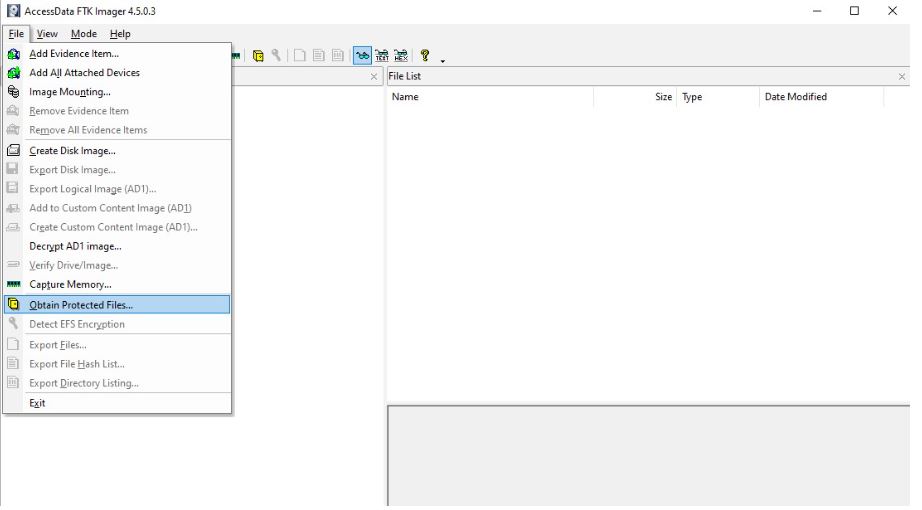
How to extract protected files using FTK Imager?
FTK Imager has a unique function of retrieving secure directories, such as SAM files, from a live system. These files are not available to users. Select the “Get Secured Files” option
FTK Imager retrieves all protected files as described below. SAM files can be further processed with hash hacking tools such as Hashcat и John the Ripper, to get credentials.

Conclusion
FTK Imager is one of the few digital forensics tools with rich capabilities and worldwide recognition. This tool is not only well suited for creating images, but also useful for analyzing files of ready-made images.
He is a cyber security and malware researcher. He studied Computer Science and started working as a cyber security analyst in 2006. He is actively working as an cyber security investigator. He also worked for different security companies. His everyday job includes researching about new cyber security incidents. Also he has deep level of knowledge in enterprise security implementation.