
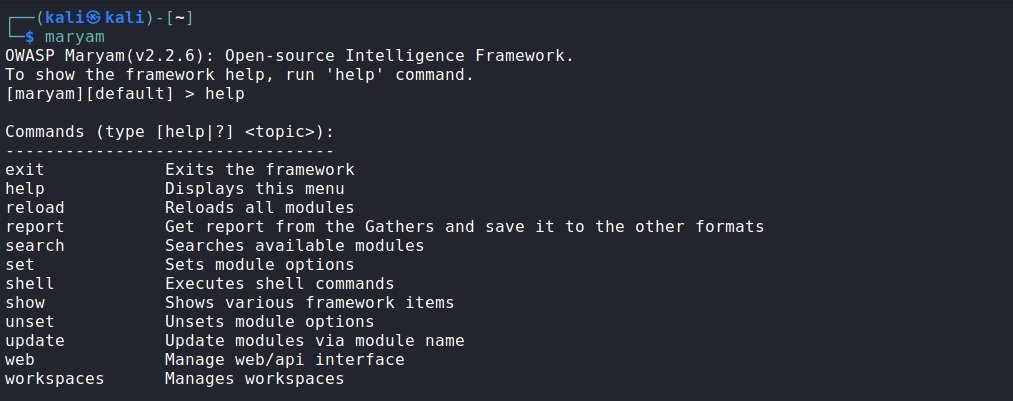
Information gathering in a target system is one of the main tasks for any ethical hacking, so it is important to know useful tools for this process. These tools can be very different from each other, as some focus on specific data while others analyze the target system holistically, collecting a lot of information.
In this article, the specialists of the information security awareness course of the International Institute of Cyber Security (IICS) will show us Maryam, one of the best tools for collecting information based on the Open Source Intelligence (OSINT) framework. While some consider that these tools may be too complex, it is important to know their scope.
OSINT with OWASP Maryam
To begin with, let’s look at what Maryam is in broad strokes. This is a complete framework in which a number of all kinds of searches are available. Maryam solves a lot of problems, plus it is not only useful for OSINT, but in some pentesting problems it will be very useful.
Installation and execution
To run, the experts in the information security awareness course recommend running the following command:
git clone https://github.com/saeeddhqan/maryam.git
cd maryam
pip3 install -r requirements
python3 setup.py install
maryam
Once it runs, you can use the help command to access a menu of options and processes.
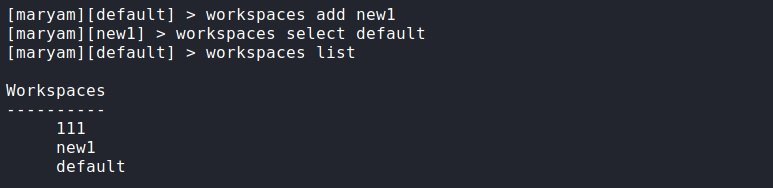
How Maryam works is really simple; the tool is divided into three categories of modules, each dedicated to separate tasks. To begin, we must select a module, pass the necessary parameters and start the process. Maryam allows you to work with several objects at the same time and quickly switch between them, plus a “default” workspace is automatically created.
To add another workspace, you can run the following command:
workspaces select имя
After running the command, we will automatically be transferred to the created workspace. All created spaces will be saved even after you close the program. To switch between them, run the following command:
workspaces select name
To see a list of all the spaces created let’s enter this command:
workspaces list
If the idea has become clear, let’s go on to analyze the modules.
Modules
To enter the modules, let’s run the following command:
show modules
We will see a list of modules available for use, divided into three categories. To access the help menu of a particular module, type its name and add -h.
Footprint
The first section is Footprint. Modules are collected here to collect and analyze information about web applications. You can search for files, folders, subdomains, determine operating systems, and collect information on web pages. Next, the experts of the information security awareness course will show us these modules in more detail.
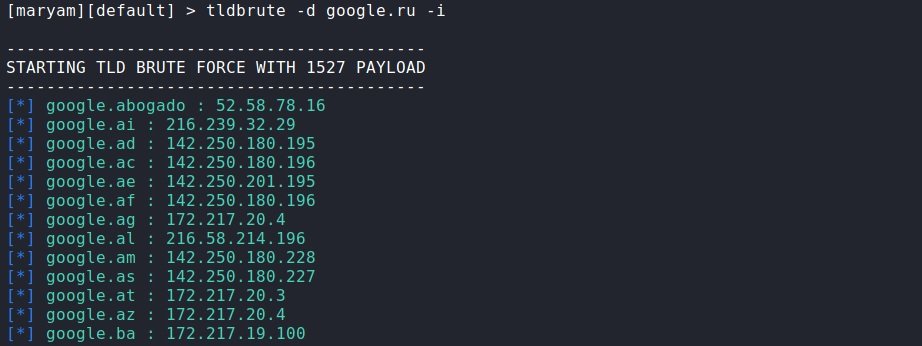
tldbrute: From the name of this module, we can assume that it is in charge of brute force attacks against target domain. This makes it possible to find identical domains.
To run the module, enter your name and pass the target domain through the parameter -d. In this case, we will see in real time how the enumeration is carried out and the results will be displayed immediately. If we want to get a response in JSON format, add –api. On the other hand, to make the response more readable, add –format and, if you want IP addresses to be displayed as well, add the -i parameter.
Maryam has its own dictionary, and it’s more than enough, but if for some reason you want to use another one, you can add it through the -w parameter. On the other hand, if you need to return to the result later, add -output and it will be saved in the current workspace; –output, –api and –format are relevant to all modules.
tldbrute -d google.ru –i
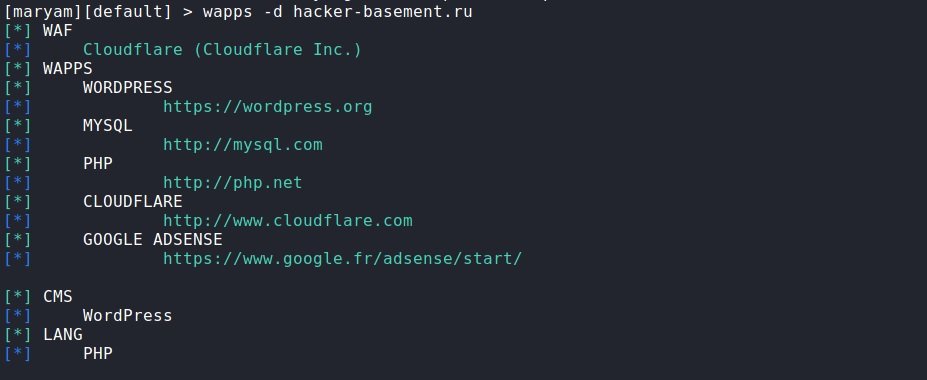
wapps: A module for defining applications that run on the target website. We enter the name of the module and pass the desired domain to it through the -d parameter. We quickly got a response about what works there and what is used.
wapps-d hacker-basement.ru
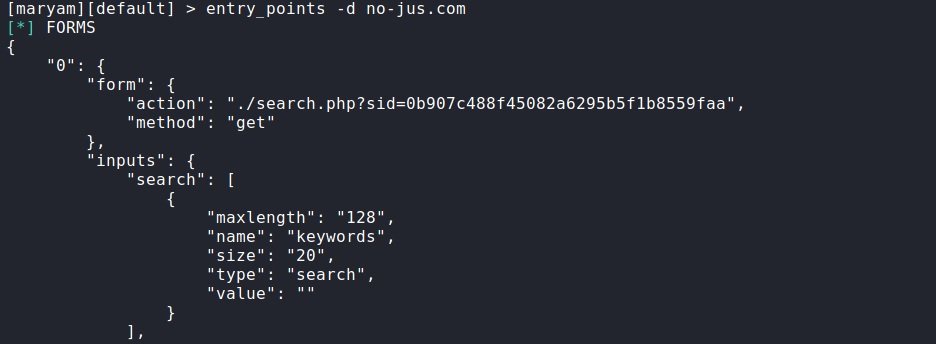
entry_points: This is a module for finding entry points. According to the experts of the information security awareness course, this command searches for all kinds of forms, addresses with parameters and more. In the same way, we specify the domain through -d.
entry_points -d no-jus.com
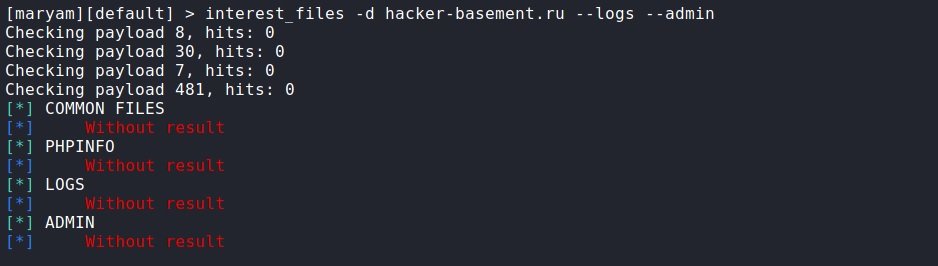
interest_files: This script allows you to search for files of interest. Using the help module (-h), we will find a list of what you can search for and what parameters to enter for this. For example, if you want to search for site logs and the admin panel, add –logs and –admin respectively.
interest_files -d hacker-basement.ru --logs –admin
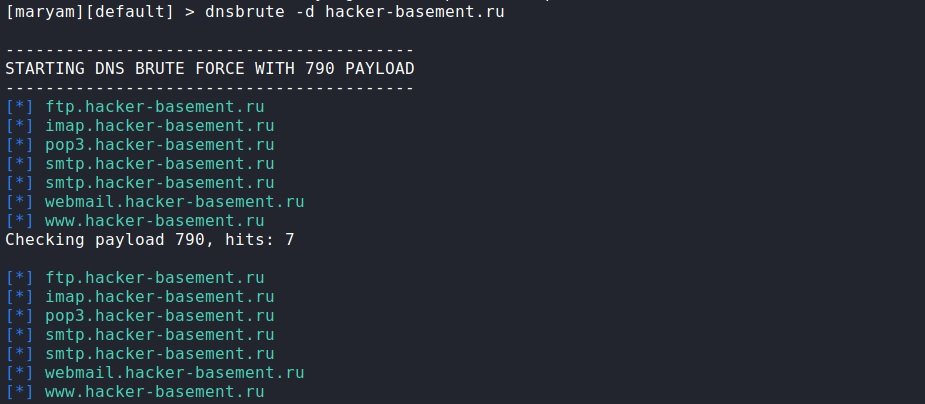
dnsbrute: Again, the name is clear what this module does. As in other cases, we specify the domain through -d. If we want to see the IP addresses, add -i.
dnsbrute -d hacker-basement.ru
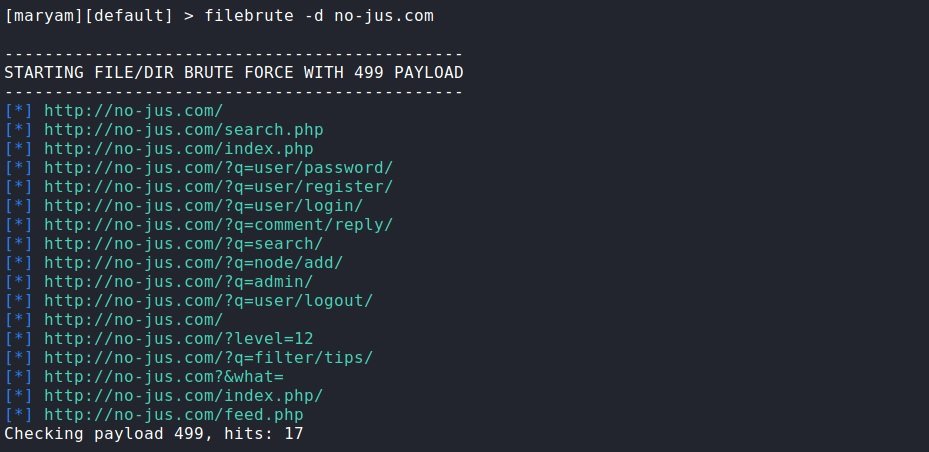
filebrute: Searches for files and directories. We specify the domain, other parameters, as a rule; do not need to be changed. But sometimes it may be necessary to use your own dictionary with -w, or filter by status code and then use the -s option and specify the status code.
filebrute -d no-jus.com
crawl_pages: A tool to search the site in general or on a particular page. To begin the search, you need to specify the domain (-d), then enter the -r parameter and specify what to search for. You can use regular expressions for this.
crawl_pages -d hacker-basement.ru -r Pulse

Search
Here modules are collected to work with social networks and search engines. Each module corresponds to a social network and a search engine and the logic of use is the same for all, mention the specialists of the information security awareness course.
To start the search, select the required module and specify what to look for through the -q parameter. Using the -h option, you can see the additional options available. There, as a rule, you can set a date range, change the search engine and the number of results displayed, or change the search parameters specific to a particular resource.
For example:
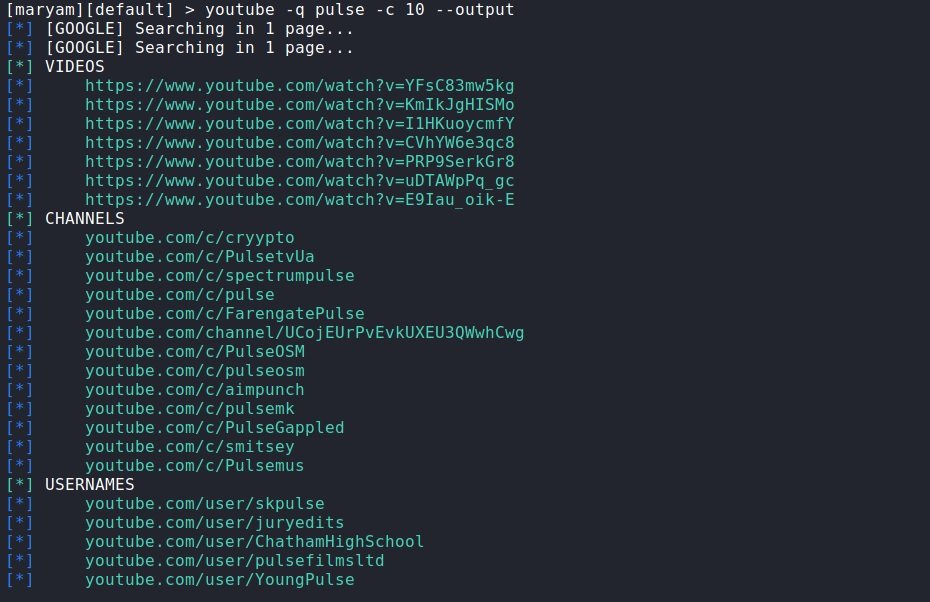
youtube -q Pulse -c 10 –output
Save the results
A very useful feature of such a search is the ability to save the results to a file. We previously added the –output parameter to the previous command, which saves the results in the current workspace. This is the report command, which we will see below.
First, we enter the report command, then the format in which we want to receive the report (xml, json, csv and txt formats are supported), the name of the file we want, then we specify the module, and here you need to specify the module section, and then through /, the module itself, and at the end we write which request to save. Example:
report txt youtube search/youtube Pulse
In this request it was specified that a report on the results of the search/youtube module, on request Pulse, had to be saved in the youtube.txt file.

If everything is correct, we get as a response that the corresponding report has been saved. As you can see, these are extremely useful tools and work with all modules from all categories.
OSINT
The next section is OSINT. No matter how logical it sounds, but all sorts of things are collected here, such as social media search, files, nicknames, and more.
- reddit_search: For Reddit search. Find relevant posts and topics. Set the publication date, who posted, and when. To run, specify the desired query (-q). If necessary, sort the output (-s) by popularity, novelty, etc. The -l parameter specifies how many results will be shown to us
- crawler: To crawl the site to find links, emails, phone numbers, comments, all kinds of CSS files and many other things that may be of interest. To get started, simply specify the domain -d
- username_search: Search by username. Search for more than 100 resources. To start, specify the desired name after the parameter – q
- cve_search: Search for exploits and vulnerabilities
- social_nets: Search for social networks by username or nickname
- article_search: Search for any scientific article
- dark_web_crawler: Dark web crawler. You must have Tor installed on your system
- phone_number_search: Search for telephone numbers by ENUM, showing the country, the operator and the format of local and international number
- tweet_search: Twitter Search
- ion_search: Search engine for the Tor network
- github_leaks: GitHub Request Search
- domain_reputation: Verification of the reputation of the target domain
- email_pwned: Checks email addresses in databases exposed in data breaches
- email_search: Email search. To run, you must specify the target domain after the -q parameter. Then, after the -e parameter, specify the search engine. For example: email_search -q no-jus.com -e google
- bing_mobile_view: Screenshot of the mobile version of a website via Bing mobile friendly view
- cloud_storage: Search for shared files on GoogleDrive, OneDrive, Dropbox, and Amazon online storage
- dns_search: Search for subdomains through various search engines
- famous_person: Searches by name and/or surname on Google, Wikipedia, Wikileaks and Twitter
- suggest: Based on the original query, it generates keyword suggestions for use in search engines
- docs_search: Search for documents in Internet engines. You must specify in which format the documents are needed
As usual, we remind you that this article was written for informational purposes only and should not be taken as a call to action. IICS is not responsible for the misuse that may occur to the information contained herein.
To learn more about cybersecurity risks, malware, vulnerabilities, information technologies, and more details about the information security awareness course, feel free to enter the International Institute of Cyber Security (IICS) website.
He is a cyber security and malware researcher. He studied Computer Science and started working as a cyber security analyst in 2006. He is actively working as an cyber security investigator. He also worked for different security companies. His everyday job includes researching about new cyber security incidents. Also he has deep level of knowledge in enterprise security implementation.